Red Velvet Cake Recipe: A Classic Delight
Highlighted under: Sugarcraft Creations
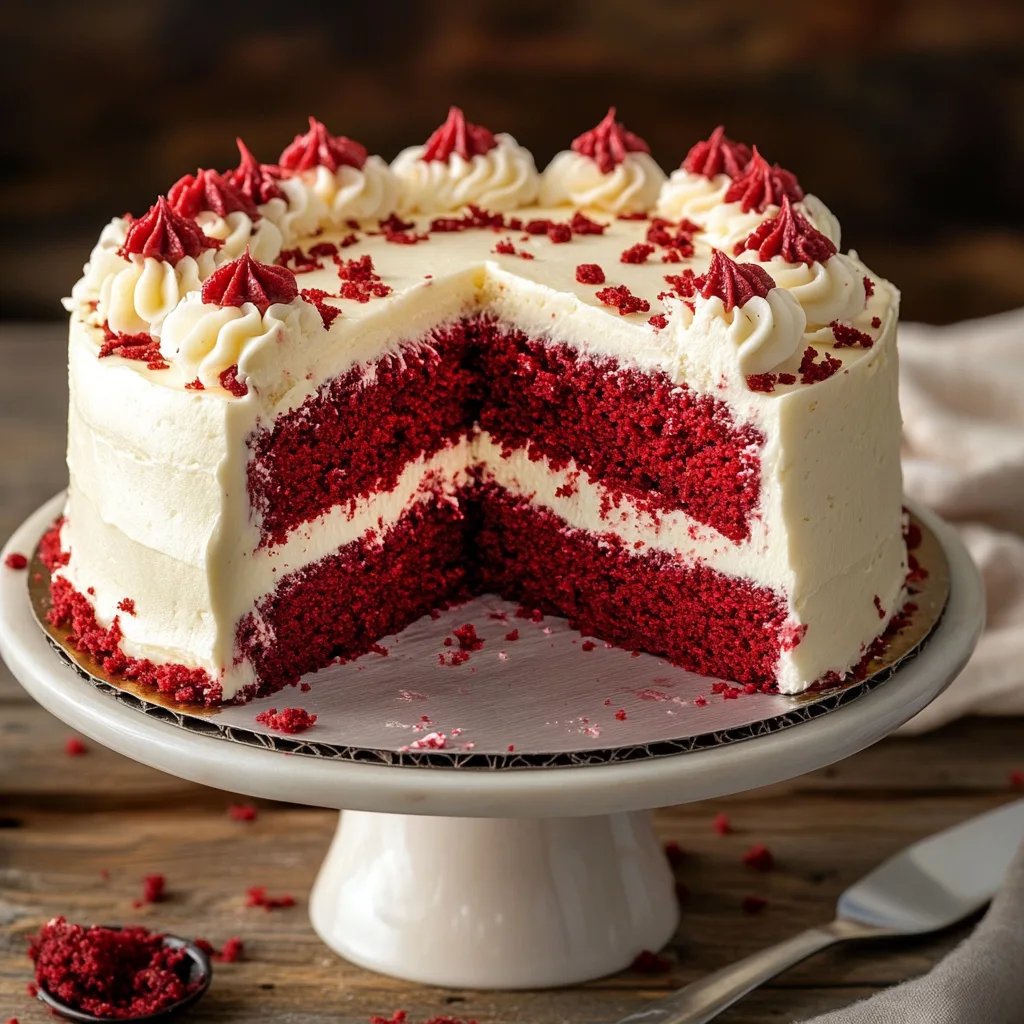
Experience the rich flavor and velvety texture of this classic red velvet cake recipe, perfect for any celebration. With its striking red color and creamy cream cheese frosting, this cake is not only a visual showstopper but also a treat for the taste buds. Whether it’s a birthday, anniversary, or festive gathering, this red velvet cake will surely impress your guests and become a favorite in your dessert repertoire.

Red velvet cake is a beloved classic that has won hearts for generations. With its unique flavor and vibrant appearance, this cake is often the centerpiece of celebrations.
Why You'll Love This Recipe
- Rich, moist cake with a hint of cocoa
- Stunning red color that adds elegance to any occasion
- Delicious cream cheese frosting that perfectly complements the cake
The History of Red Velvet Cake
Red velvet cake has a rich and intriguing history that dates back to the early 20th century. Originally believed to have been invented in the Victorian era, it gained significant popularity in the United States, particularly during the Great Depression. Its unique flavor and striking color made it a favorite for special occasions and celebrations.
The cake's signature red hue is often attributed to the reaction between natural cocoa powder and acidic ingredients like buttermilk and vinegar. However, today's versions often use red food coloring to achieve that vibrant look. Over the years, red velvet cake has become an iconic dessert, often associated with love and romance, making it a popular choice for weddings and anniversaries.
Tips for Baking the Perfect Red Velvet Cake
To ensure your red velvet cake turns out moist and flavorful, always use fresh ingredients. Check the expiration dates on baking soda, baking powder, and any dairy products. Additionally, room temperature ingredients blend more easily, resulting in a smoother batter with a better rise.
When measuring your flour, avoid packing it into the cup. Instead, spoon the flour into your measuring cup and level it off with a knife. This simple trick prevents the cake from becoming dense. Also, be cautious not to overmix the batter, as this can lead to a tough cake. Mix until just combined for the best texture.
Finally, invest in good quality cocoa powder, as it significantly affects the flavor of the cake. A rich, high-quality cocoa powder will enhance the subtle chocolate notes of the dessert, making every bite a delightful experience.
Creative Variations on Red Velvet Cake
While the classic red velvet cake is delicious, don’t be afraid to experiment with variations. For instance, you can add a hint of espresso or mocha flavor to deepen the chocolate taste. Incorporating crushed nuts, such as walnuts or pecans, adds a delightful crunch that contrasts nicely with the cake's velvety texture.
Another fun twist is to transform red velvet into cupcakes. Simply follow the same batter recipe and adjust the baking time to about 18-20 minutes. Top the cupcakes with the same cream cheese frosting for a bite-sized treat that's perfect for parties or casual gatherings.
You can also create a red velvet layer cake with additional fillings between the layers, like cheesecake or berry compote, for an exciting flavor combination. With these variations, red velvet cake can fit any occasion, impressing guests with both its taste and creativity.
Ingredients
For the Cake
- 2 1/2 cups all-purpose flour
- 1 1/2 cups sugar
- 1 teaspoon baking soda
- 1 teaspoon salt
- 1 teaspoon cocoa powder
- 1 1/2 cups vegetable oil
- 1 cup buttermilk
- 2 large eggs
- 2 tablespoons red food coloring
- 1 teaspoon vanilla extract
- 1 teaspoon white vinegar
For the Frosting
- 8 oz cream cheese, softened
- 1/2 cup unsalted butter, softened
- 1 teaspoon vanilla extract
- 4 cups powdered sugar
- 2-3 tablespoons milk
Make sure to measure your ingredients accurately for the best results.
Instructions
Prepare the Cake Batter
Preheat your oven to 350°F (175°C). Grease and flour two 9-inch round cake pans.
In a large bowl, mix the flour, sugar, baking soda, salt, and cocoa powder. In another bowl, combine the oil, buttermilk, eggs, food coloring, vanilla, and vinegar. Gradually add the wet ingredients to the dry ingredients until just combined.
Bake the Cake
Pour the batter evenly into the prepared pans. Bake for 30 minutes or until a toothpick inserted in the center comes out clean. Allow the cakes to cool in the pans for 10 minutes before transferring to wire racks to cool completely.
Prepare the Frosting
While the cake is cooling, beat the cream cheese and butter together until smooth. Add the vanilla extract and mix well. Gradually add in the powdered sugar, adjusting the consistency with milk as needed.
Assemble the Cake
Once the cakes are completely cooled, spread a layer of frosting on top of one cake layer. Place the second layer on top and frost the top and sides of the cake. Decorate as desired.
Enjoy your delicious red velvet cake!
Storing Your Red Velvet Cake
To keep your red velvet cake fresh, store it in an airtight container at room temperature for up to three days. If you prefer longer storage, refrigerate the cake, where it can last up to a week. However, make sure to allow it to come to room temperature before serving, as this will enhance the flavor and texture.
If you've baked the cake in advance, it’s also possible to freeze it. Wrap each layer tightly in plastic wrap and aluminum foil, and store them in the freezer for up to three months. Thaw the layers in the refrigerator overnight before frosting and serving, ensuring they maintain their moisture and taste.
Serving Suggestions
When serving your red velvet cake, consider pairing it with a scoop of vanilla ice cream or a dollop of whipped cream. The creamy textures contrast beautifully with the rich cake, making for a delightful dessert experience. Additionally, fresh berries can provide a tart balance that complements the sweet flavors of the cake and frosting.
For special occasions, why not dress up your cake? Edible flowers, decorative sprinkles, or even a dusting of cocoa powder can elevate the visual appeal. Presentation matters just as much as taste, and a beautifully decorated cake will undoubtedly impress your guests.
Common Mistakes to Avoid
One common mistake when baking red velvet cake is not measuring the ingredients accurately. As mentioned earlier, incorrect measurements can lead to a dense cake. Always use measuring cups and spoons for dry and wet ingredients to ensure precision in your baking.
Another potential issue is not allowing the cake to cool properly before frosting. If you frost a warm cake, it can melt the frosting and create a mess. Be patient and let the cake layers cool completely for the best results. Taking these precautions will help you achieve the perfect red velvet cake every time.

Questions About Recipes
→ Can I make this cake ahead of time?
Yes, you can bake the cakes a day in advance and store them wrapped in plastic wrap at room temperature.
→ What can I use instead of buttermilk?
You can make a substitute by adding 1 tablespoon of vinegar or lemon juice to 1 cup of milk and letting it sit for 5-10 minutes.
Red Velvet Cake Recipe: A Classic Delight
Experience the rich flavor and velvety texture of this classic red velvet cake recipe, perfect for any celebration. With its striking red color and creamy cream cheese frosting, this cake is not only a visual showstopper but also a treat for the taste buds. Whether it’s a birthday, anniversary, or festive gathering, this red velvet cake will surely impress your guests and become a favorite in your dessert repertoire.
Created by: Emily
Recipe Type: Sugarcraft Creations
Skill Level: Intermediate
Final Quantity: 12 servings
What You'll Need
For the Cake
- 2 1/2 cups all-purpose flour
- 1 1/2 cups sugar
- 1 teaspoon baking soda
- 1 teaspoon salt
- 1 teaspoon cocoa powder
- 1 1/2 cups vegetable oil
- 1 cup buttermilk
- 2 large eggs
- 2 tablespoons red food coloring
- 1 teaspoon vanilla extract
- 1 teaspoon white vinegar
For the Frosting
- 8 oz cream cheese, softened
- 1/2 cup unsalted butter, softened
- 1 teaspoon vanilla extract
- 4 cups powdered sugar
- 2-3 tablespoons milk
How-To Steps
Preheat your oven to 350°F (175°C). Grease and flour two 9-inch round cake pans.
In a large bowl, mix the flour, sugar, baking soda, salt, and cocoa powder. In another bowl, combine the oil, buttermilk, eggs, food coloring, vanilla, and vinegar. Gradually add the wet ingredients to the dry ingredients until just combined.
Pour the batter evenly into the prepared pans. Bake for 30 minutes or until a toothpick inserted in the center comes out clean. Allow the cakes to cool in the pans for 10 minutes before transferring to wire racks to cool completely.
While the cake is cooling, beat the cream cheese and butter together until smooth. Add the vanilla extract and mix well. Gradually add in the powdered sugar, adjusting the consistency with milk as needed.
Once the cakes are completely cooled, spread a layer of frosting on top of one cake layer. Place the second layer on top and frost the top and sides of the cake. Decorate as desired.
Nutritional Breakdown (Per Serving)
- Fat: 22g
- Carbohydrates: 45g
- Protein: 3g